EXTENDED INSTRUCTIONS:
0. Download and install the Firefox Developer Edition:
https://www.mozilla.org/en-US/firefox/developer/

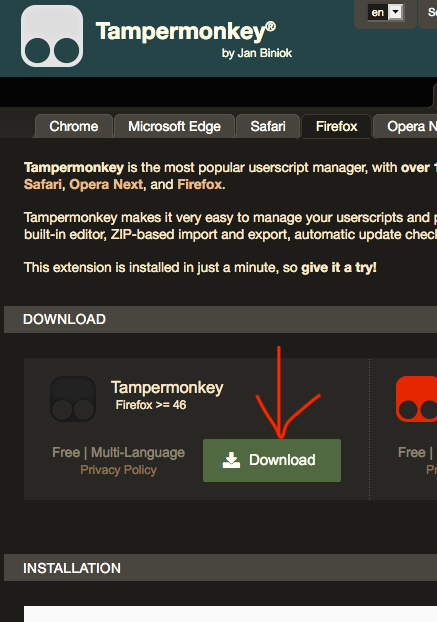
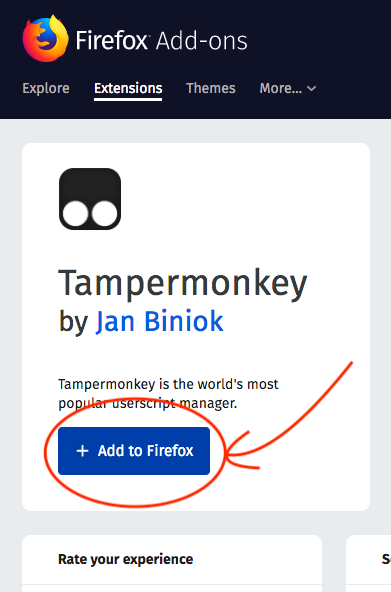
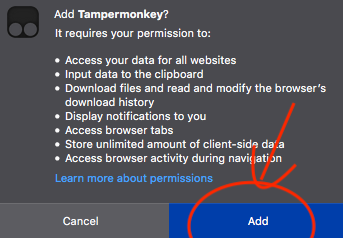
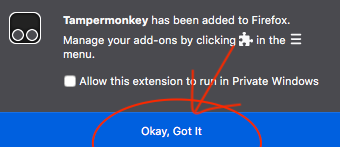
1. Install the Tampermonkey extension from your Firefox Developer application you just installed:
https://www.tampermonkey.net/?ext=dhdg&browser=firefox
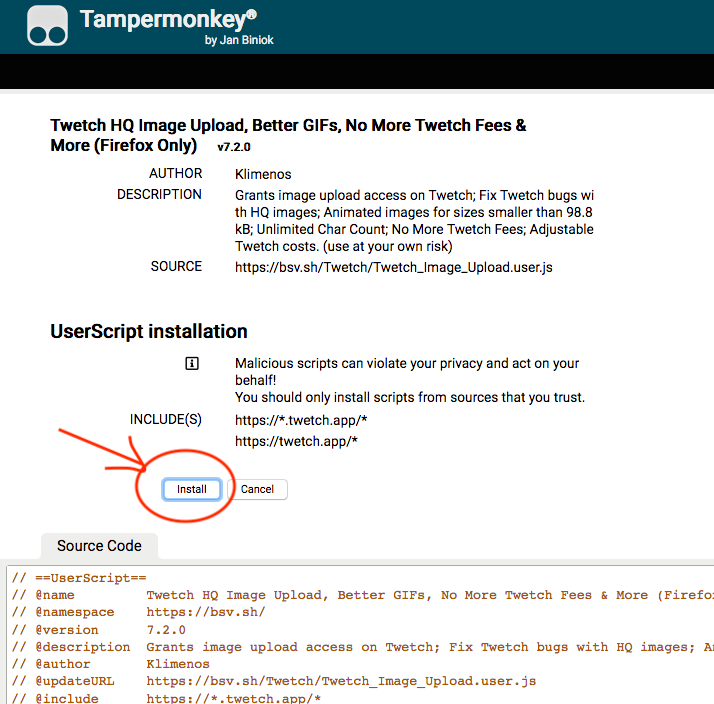
2. Then, still from Firefox Developer, visit one of the listed bsv.sh pages to install or reinstall the Tampermonkey userscript of your choice:
For example: https://bsv.sh/Twetch/Twetch_Image_Upload.user.js
The page should display an Install (or Reinstall button). Click it!
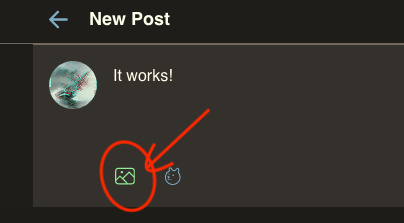
3. Refresh or visit the Twetch compose page (still and always from your Firefox Developer):
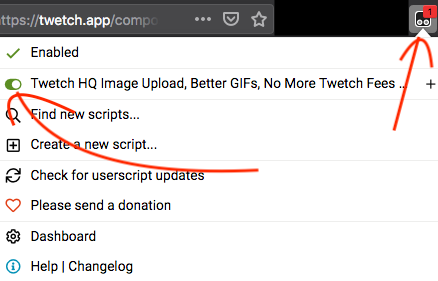
You should notice the Firefox TamperMonkey icon from the Firefox menubar now displays a number in red, which shows the tweak is active.

And on the Twetch compose message you should also see the image upload icon has a different colour.
4. To activate/deactivate the tweak, click the TamperMonkey icon in the Firefox Developer menubar. You should see a toggle icon to activate or deactivate the userscript. Which should come handy in case some day the tweak stops working properly.
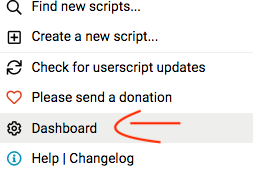
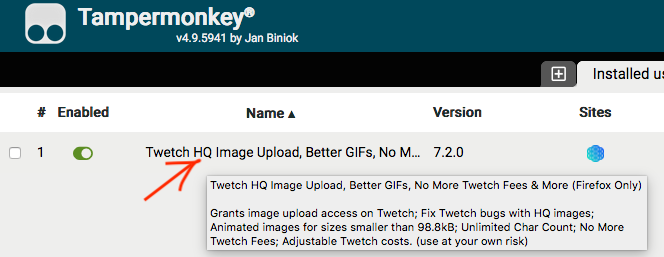
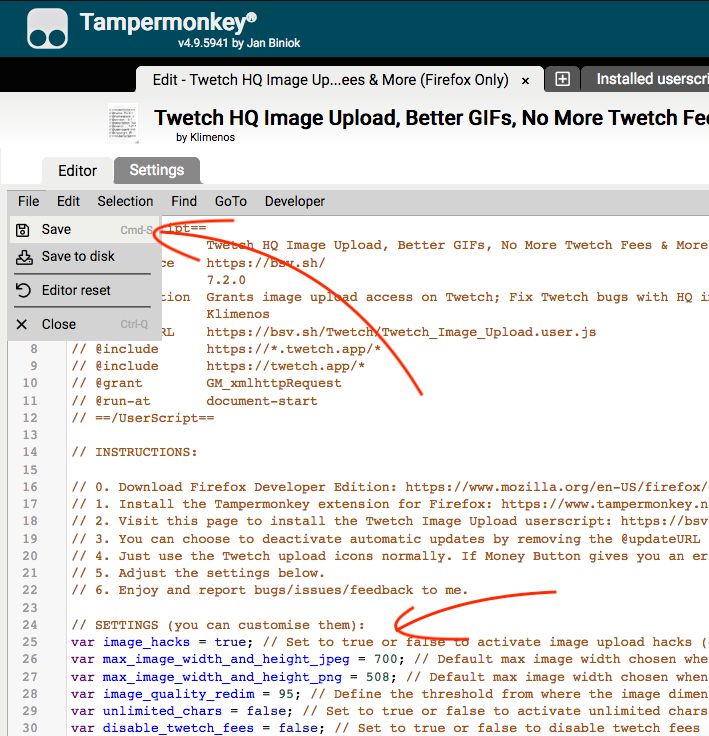
5. To customise the script settings, you need to access the Tampermonkey Dashboard, then click on the userscript you want to edit, make the changes in the settings section (if there is one), then save the script.
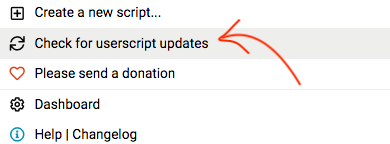
6. To update to a newer version of your userscripts, you can click the Tampermonkey Firefox menubar icon and click "Check for userscript updates". If there are new updates available, the update will be installed automatically.
- Remember that updates overwrite your userscript settings back to default (if you have made any changes to the userscript)!
- You need to refresh Twetch pages (or at worse, restart Firefox) for the tweak changes or updates to take effect!